Tuesday, August 31, 2010

Carpeting…Day 3 (evening report)

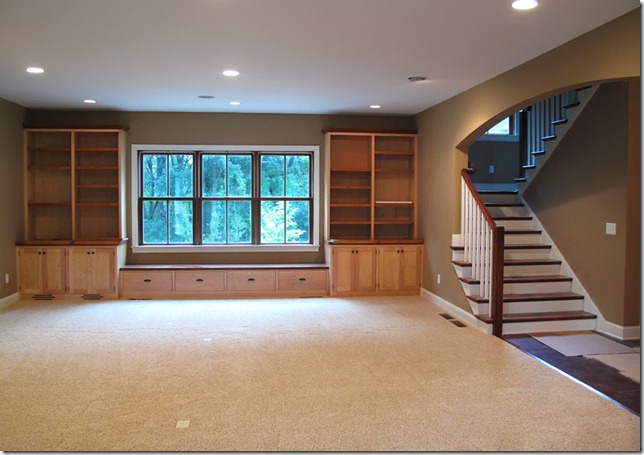
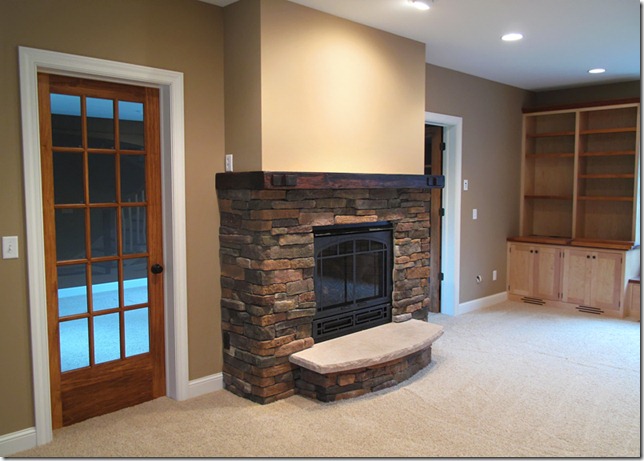
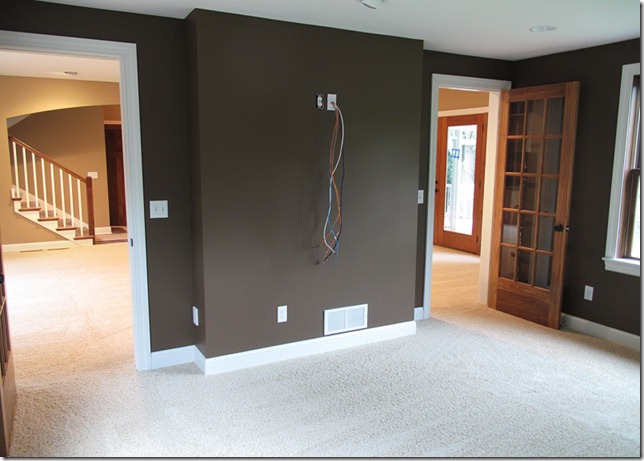
The Interior Design Carpet crew finished installing carpet in the music room and living room early this afternoon. The three photos below show the carpet in both rooms and up against the front of the fireplace. This end of first floor feels completely different with the carpeting in place…it’s amazing how much quieter it is. The installers spent a little time preparing the cement floor in the basement for the carpet tiles before they left for the day. I think they plan to get both the basement and bonus room carpeted this week.

Exciting stuff!

Carpet 27

Carpet 29

Carpet 28

Carpentry…Porches (day 11 evening report)

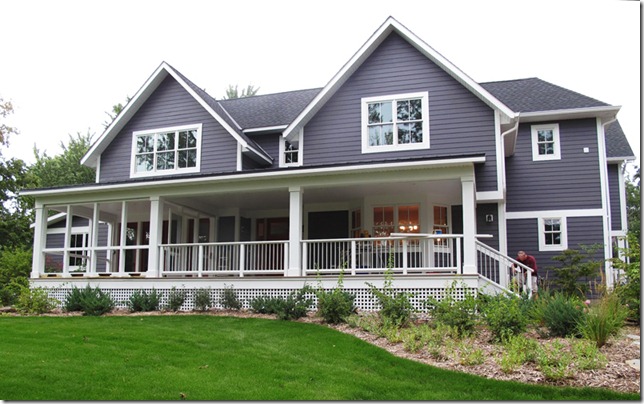
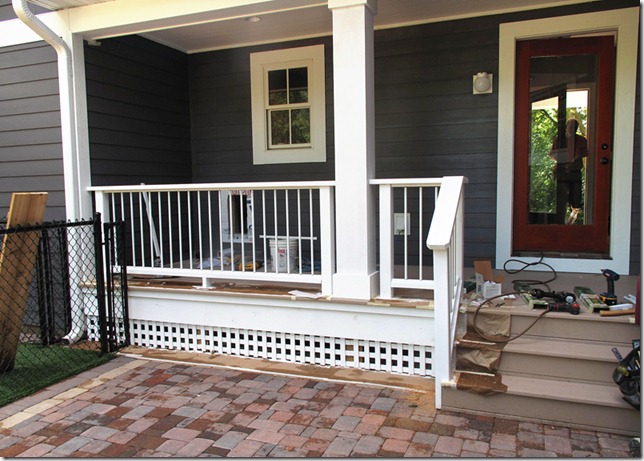
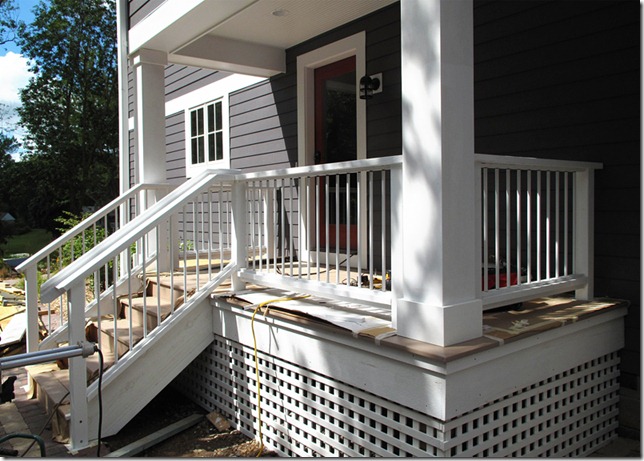
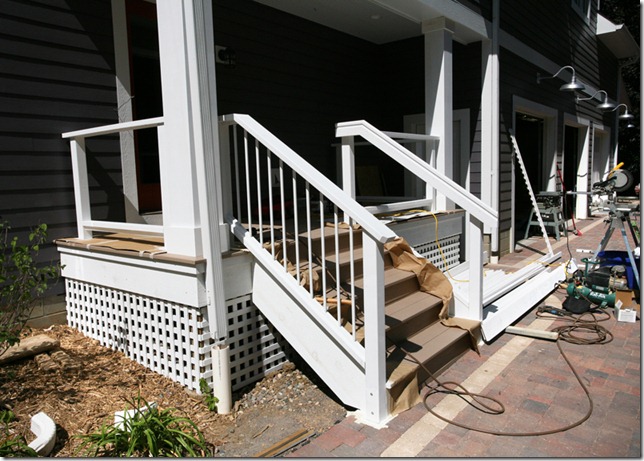
Landon worked his way across most of the front porch assembling railings this afternoon. The photo here shows the front of the “L” Shaped House at about 6 pm this evening with Landon hard at work on the last stair railing. He plans to have a helper tomorrow morning as he moves into the screen porch.

It all looks fantastic!

deck 80

Electrical…Day 23

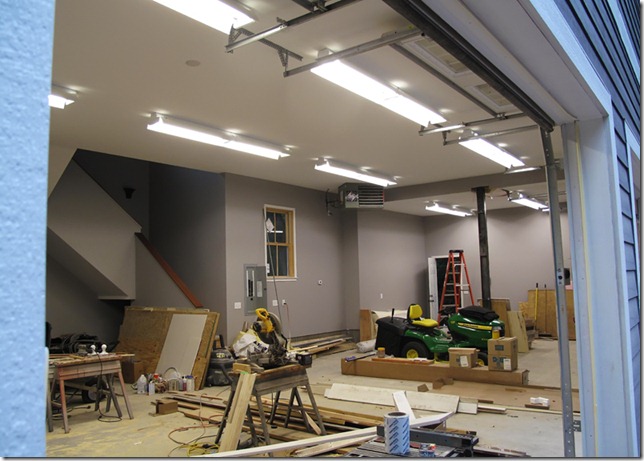
Curt and Luke were back today putting the finishing touches on the electrical system at the “L” Shaped House. They spent some time replacing a few light fixtures and labeling in the service panels. The first photo shows all of the fluorescent light fixtures in the garage ceiling hooked up and shining brightly.

Garage 27

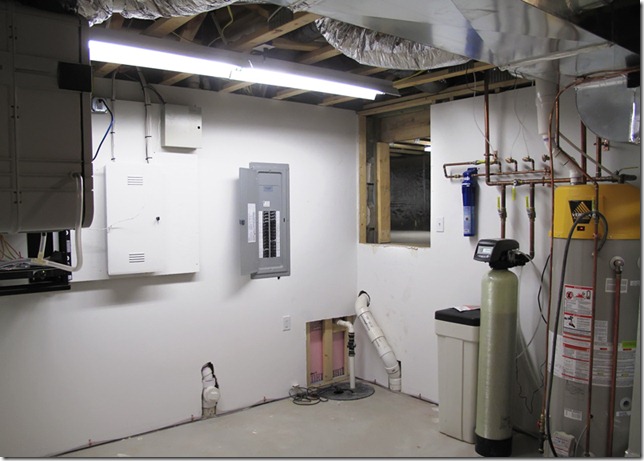
The next photo show the fluorescent light fixture in the basement mechanical room mounted to the ceiling.

basement 10

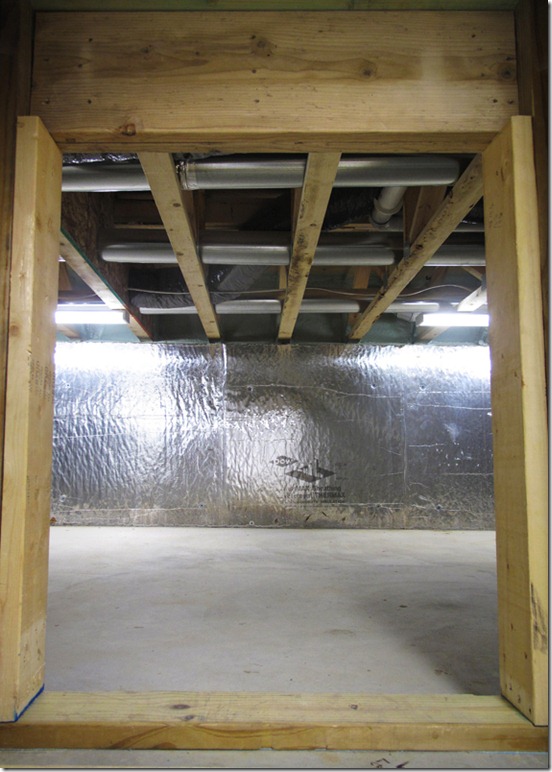
The last photo shows the entrance to the crawl space under the East end of the house with the two new light fixtures in place and the space cleaned up nicely.

basement 11

Landscaping…Day 45

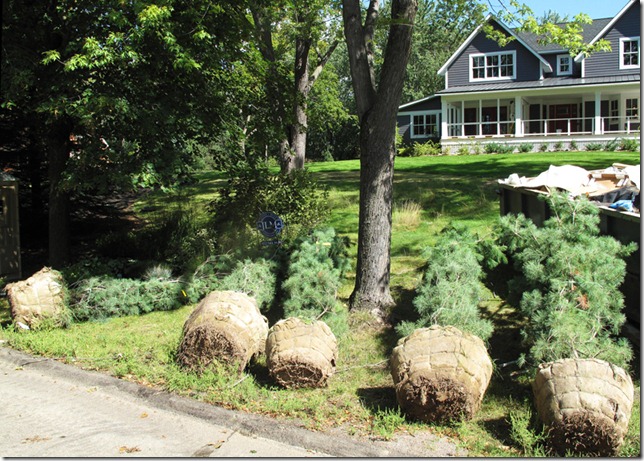
Jay and his landscaping crew spent the day preparing the planting bed on the West property line and planting the our five new Eastern White Pine trees. The first photo (taken this morning) shows the five new trees laying on the front lawn where Gertens dropped them off early this morning. The big rain last night made for a slow start this morning as Jay and his guys battled with our infamous mud early in the day.

Landscaping 284

The next photo shows the phase 2 planting bed late this afternoon with three of the new White Pine trees planted and whole lot of new dirt and mulch added to the hillside. We decided to plant the trees in two “clumps” and allow a clear sight line to the street from the screen porch.

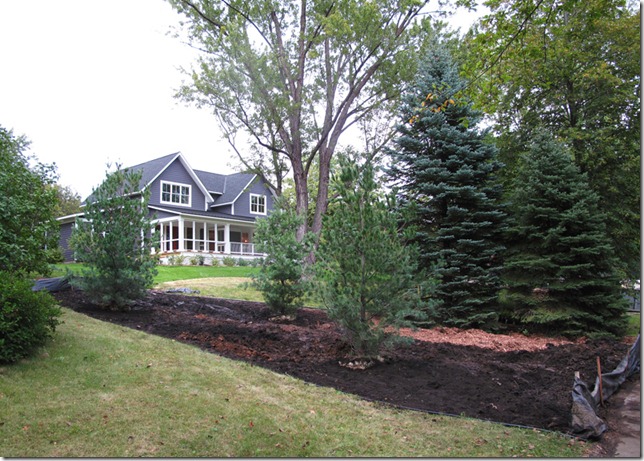
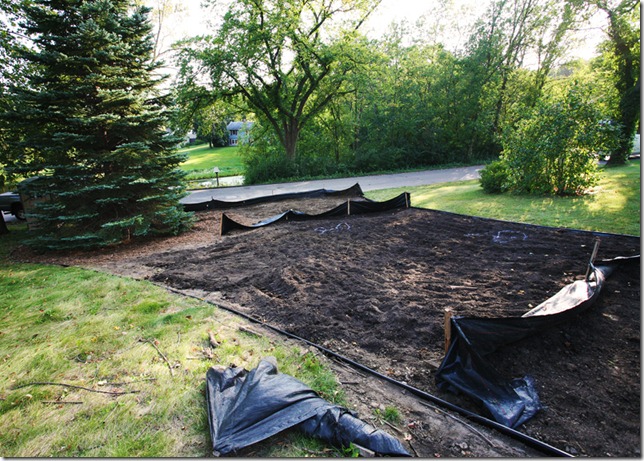
The third photo shows the the five new trees and the plastic edging running along the property line to the West. Here we can see the two trees in the “clump” at the top of the hill and other three bunched together further down. The White Pines look right at home planted in the space formerly occupied by the driveway.

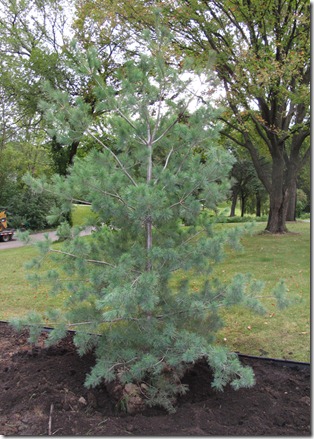
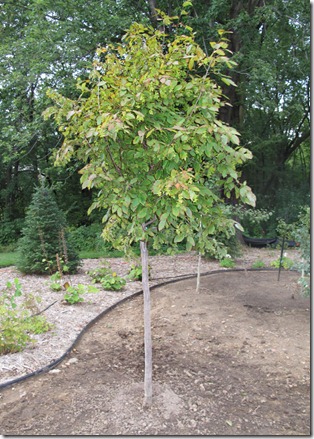
The fourth photo shows a close up of one of the upper two White Pines. Jay and his guys dug the holes with their mini-hoe and will fill in around the root ball with a mixture of black dirt and fresh manure tomorrow. The fifth photo shows the new Blue Beech tree Jay’s crew planted to replace the one that got run over by the irrigation machine a few weeks back. It is a really nice specimen and is already getting a little color.  

Landscaping 281

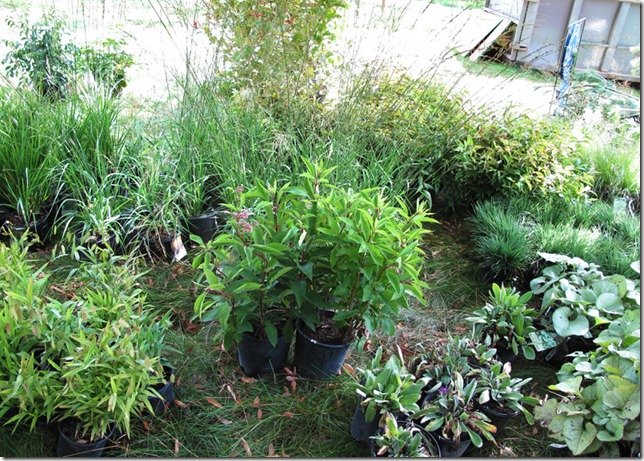
The sixth photo shows the big pile of plants Gertens dropped off this morning that will be placed in the phase 2 gardens starting tomorrow morning. 

Landscaping 283

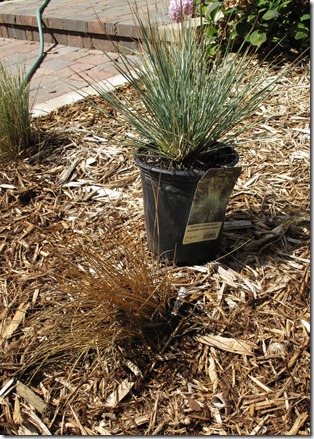
The last photo shows one the plants Jay and his crew will replace while they are working to finish the landscaping at the site. Matt Wolfe has carefully surveyed all of the gardens around the house and is supplying replacements for all of the damaged and dead plantings. There are actually not that many plants to replace and (unsurprisingly) the most common ailment is drowning…too much water!

Landscaping 282

Carpeting…Day 3

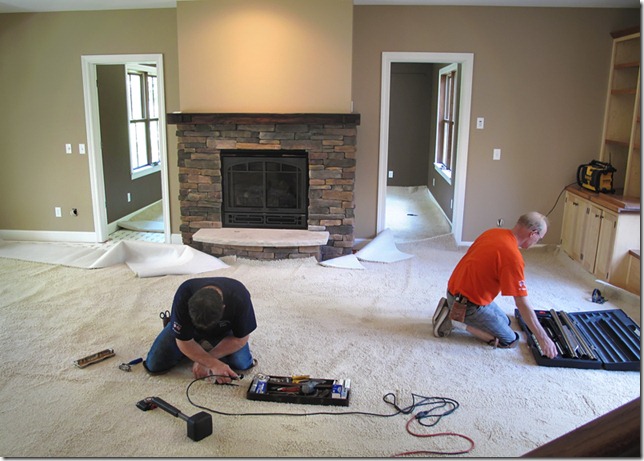
Our friends at Interior Design Carpet are back today installing carpet in the music room and living room at the “L” Shaped House. The first photo shows two of their guys working in the living room as they get started laying out and seaming the carpeting.

Carpet 22

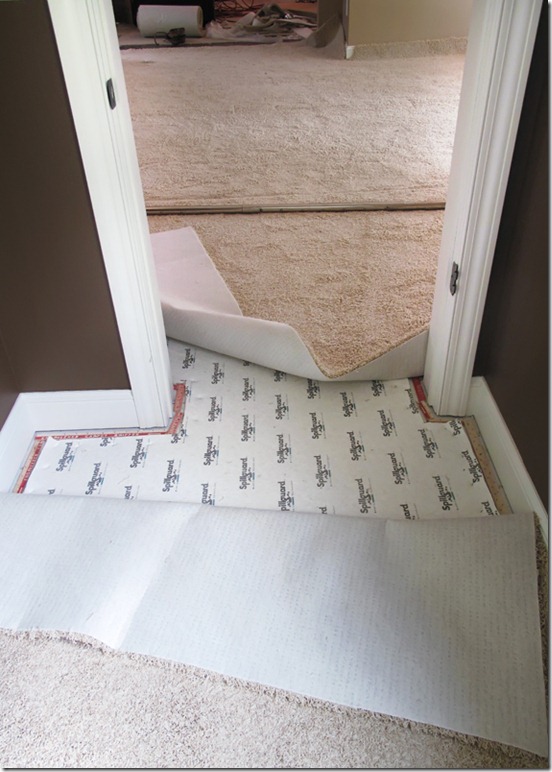
The next photo shows the carpeting as it runs through one of the music room doorways. Here we can see the Spillguard carpet pad and nail strips they installed earlier.

Carpet 23

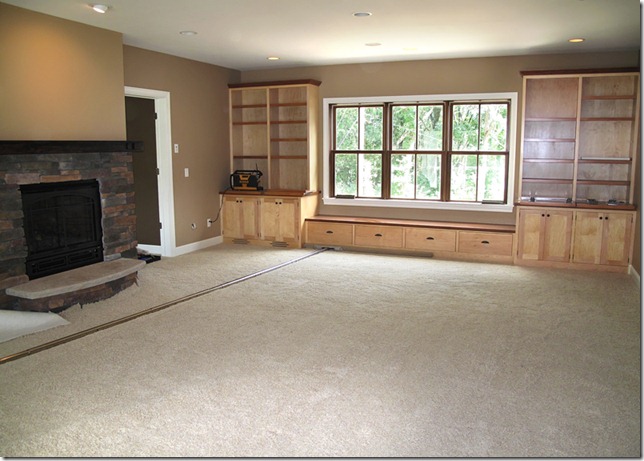
the last photo shows the vast expanse of carpet laid out in the living room as the installers started working their way around the room stretching and trimming. The new carpet looks great and whole room is amazingly less noisy with the carpet and pad installed.

Carpet 25

Carpentry…Porches (day 11)

Landon is back today working on railings for all three porches at the “L” Shaped House. The first photo shows the back breezeway porch after he finished installing all of the balusters in the the railings. Once the painters finish putting the second coat on everything this porch will be done!

deck 78

The next photo shows the side breezeway porch with all of the elements of the railing system in place. Landon was heading off to start on the front porch as I left around 1 pm and expects to be moving on to the screen for the screen porch sometime tomorrow.

deck 79

Appliances…Running the Washer & Dryer

Paul and Nate finished installing the washer and dryer yesterday and we decided to run them today around noon to check for leaks. The video below should bring this experience right into your home as well!

Carpentry…The Dog Door (day 2)

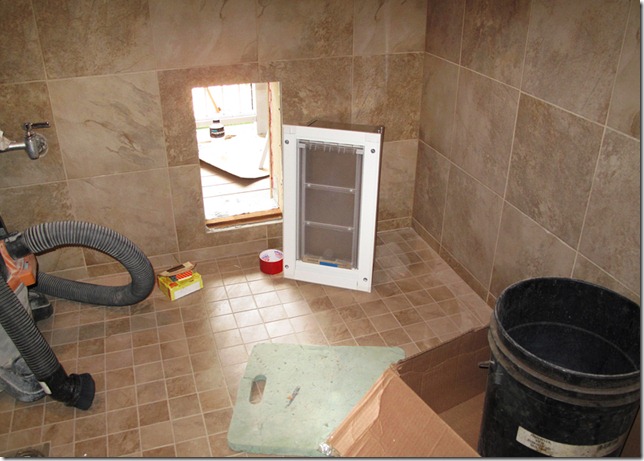
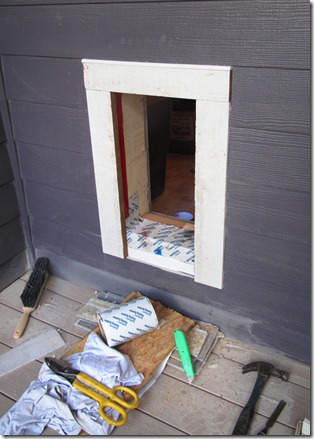
Paul continues his work on the dog door in the outside wall of the mudroom. The first photo shows the the “inside” half of the dog door standing next to the opening Paul has created in the wall. We are using the double flap version of an Endura Flap pet door from Patio Pacific that includes a magnetic “closer” and a sturdy locking cover on the inside flap.

Dog Door 1

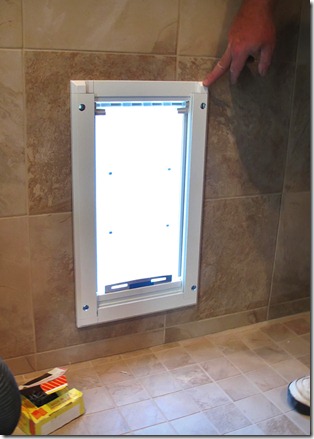
The next photo shows Paul holding the door assembly in place in the wall. The last photo shows the MiraTEC trim and DuPont window flashing Paul is using as he finishes the rough door opening on the outside wall.

Dog Door 3 Dog Door 2

Monday, August 30, 2010

Appliances…The first floor laundry

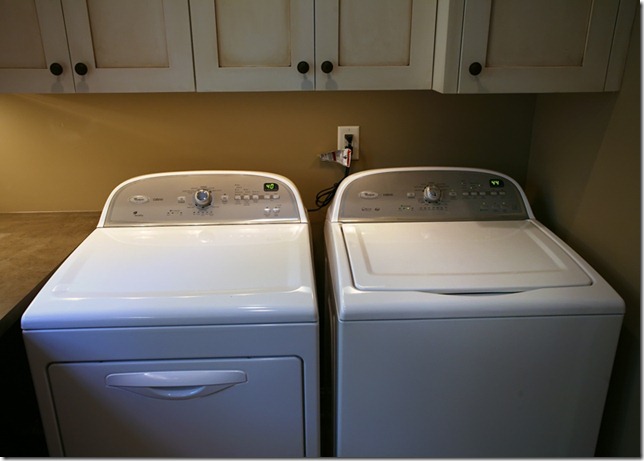
Paul and Nate finished up the new dryer venting and finally pushed the washer and dryer back against the wall in the first floor laundry room for good. The first photo shows the new appliances plugged in…turned on…and ready to go!

Appliances 40

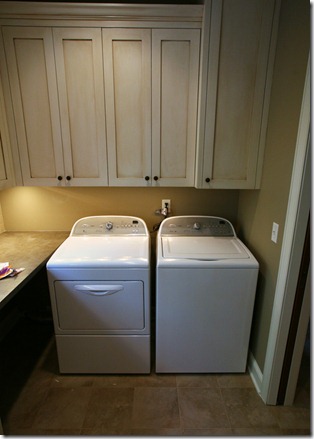
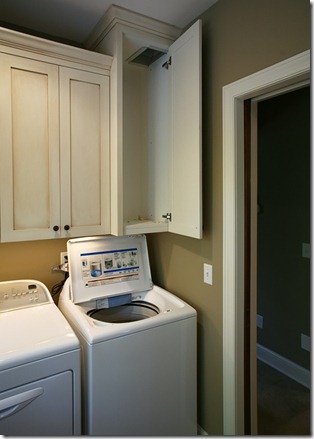
The next photo was taken with my 17-40mm zoom lens that allows for a wide angle view of the room. Here we can see how nice this washer and dryer look tucked in under the cabinets along the wall. The last photo shows off the unique laundry chute above the top loading washer feature I have been planning since the very beginning of this big adventure. I think this is going to be really cool…despite what (almost) everyone else says about it!

Appliances 41 Appliances 42

Carpentry…The dog door

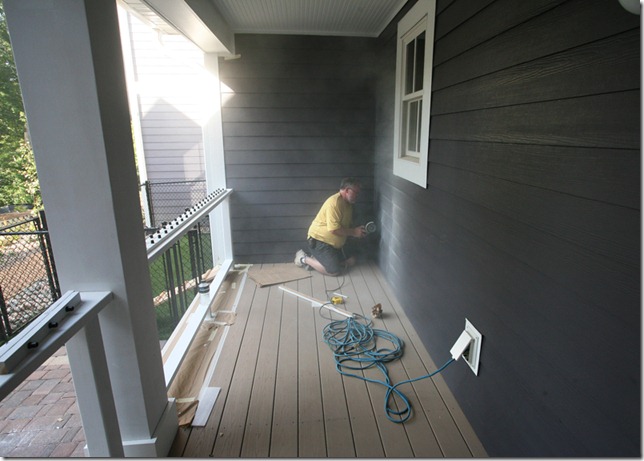
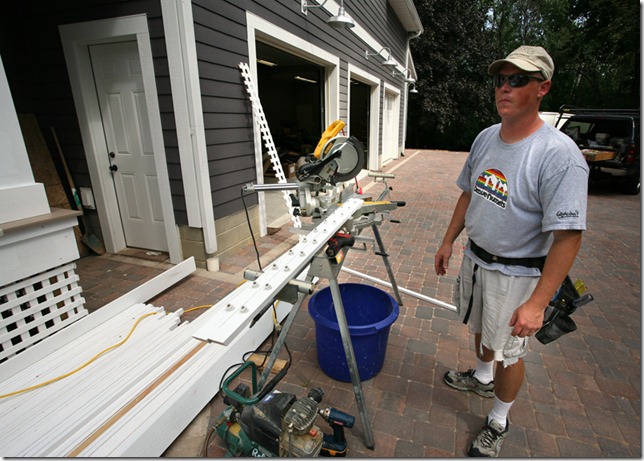
I snuck out the back breezeway door and finally got a photo our camera shy construction supervisor…Paul Winters…as he worked to cut his way through the James Hardie siding on the porch where the dog door will be installed (he couldn't hear a thing with the grinder running) .

Landscaping 272

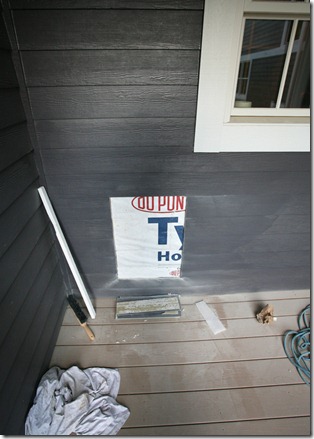
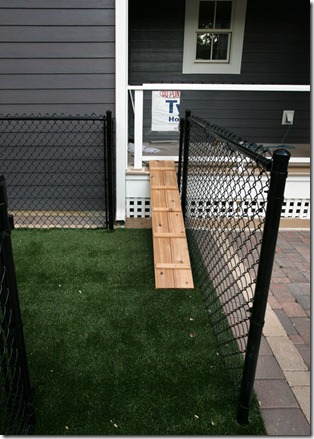
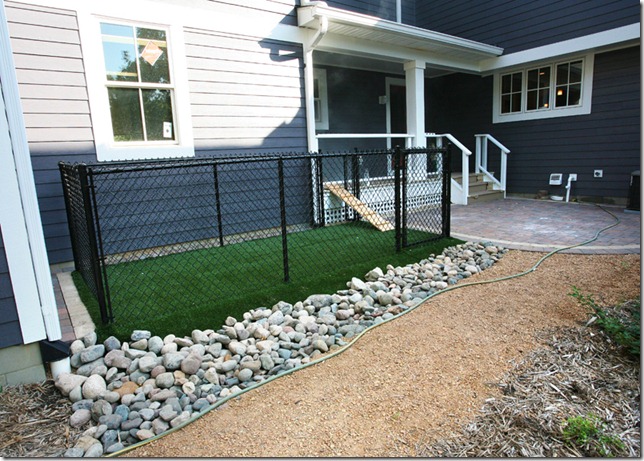
The next photo shows the nice clean hole he cut in the siding where he plans to install a MiraTEC frame surrounding the dog door. The last photo shows the doggie ramp extending into the dog run from the breezeway porch. The plan is to train the dogs to run out through the door, and down the ramp into the dog run to “do their jobs” on the K9 grass.

Landscaping 271 Landscaping 270

Landscaping…Day 44

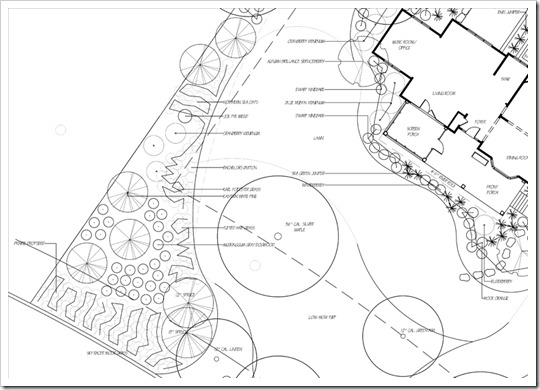
Our old friend Jay and his crew of guys from the landscaping side of JLM are back today starting on what will be the last big project on the grounds of the “L” Shaped House. The project is what we have been calling “phase 2” of the master landscaping plan and includes completing the removal of the old driveway and extending the planting bed along the West property line all the way to the street.

Click on the sketch to make it big.

11x17sheet

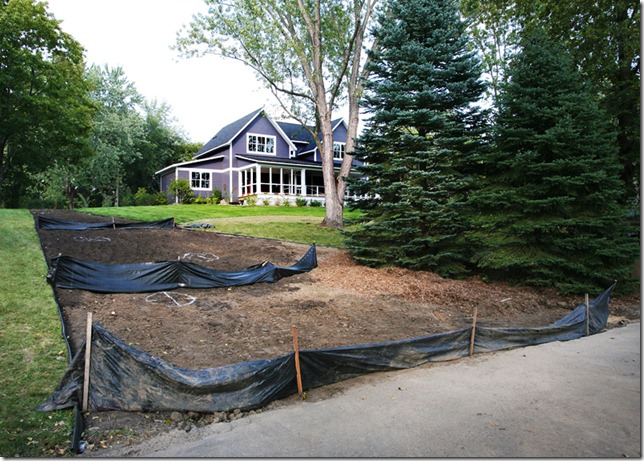
The first photo below shows the area after Jay and his crew removed all of the asphalt at the street…worked in some new black dirt along the property line…and mulched under the fir trees.

Landscaping 267

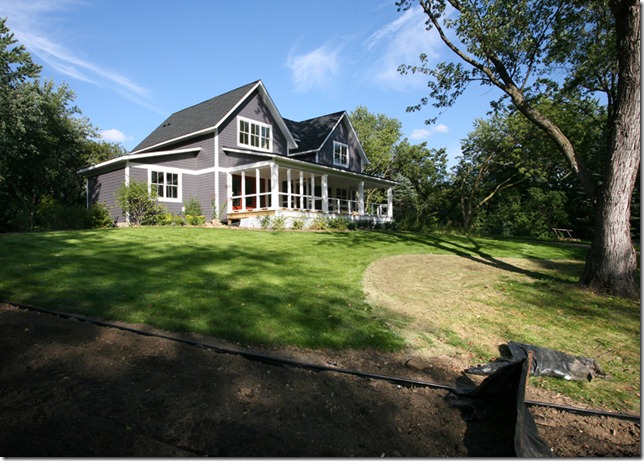
The next photo (taken about half way up the front hill) shows the line Matt Wolfe established by “scalping” the new sod with his mower that will mark the transition from our formal lawn above and no-mow turf below. The plan is to have the formal lawn (sod), and no-mow turf, meet at the plastic edging just above the end of the silt fence in this photo.

Landscaping 268

The third photo shows the phase 2 planting bed from the spot where the sod and no-mow turf meet. Here we see the plastic edging running down around the fir trees as it winds toward the street. This whole area will be filled with plantings that include some really nice native grasses and five nice big White Pine trees.

Landscaping 273

The last photo shows the dog run off the back breezeway porch after Jay’s crew finished installing the K-9 grass in the kennel area. They plan to add some more rocks to the dry “riverbed” tomorrow as they finish up their work in the upper patio area.

Landscaping 269

Carpentry…Porches (day 10)

Landon (Solid Construction) is back today starting work on the porch railings. The first photo shows two deck rails for the stair section of the side breezeway porch with stair baluster connectors attached. The stair sections are presumably a lot tougher to lay out and assemble than the straight runs across the porches.

deck 76

The next photo shows the first section of balusters installed on the front side of the stairs leading to the breezeway entrance to the “L” Shaped House. This system of aluminum balusters and connectors creates a nice clean looking railing.

deck 77

Electrical…Day 22

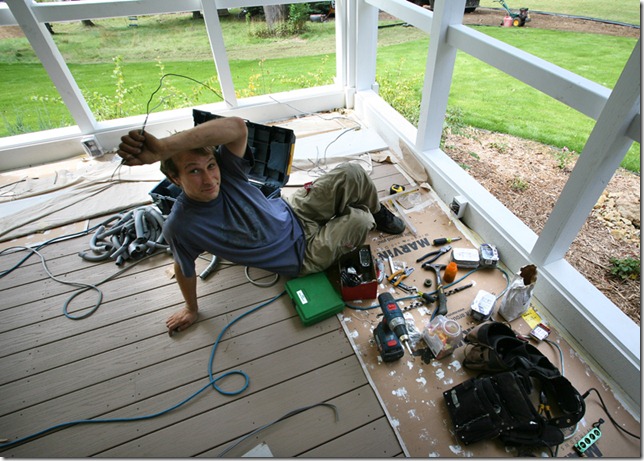
Luke from Wire-Rite is back working to install the electrical outlets in the screen porch. We decided to have four outlets spread around on the three “outside” walls of the screened-in area. The first photo shows Luke trying to escape the camera as he wires in one of the surface mount boxes on the West end of the porch.

Electrical 105

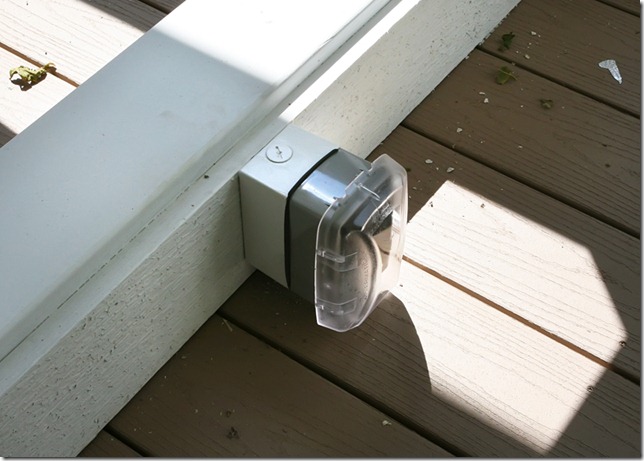
The second photo shows a finished outlet box assembly on the East wall of the screen porch. The electrical code requires that these boxes have the dreaded “in-use” bubble covers as protection in a wet environment.

Electrical 106

Fireplace…Decorative Front

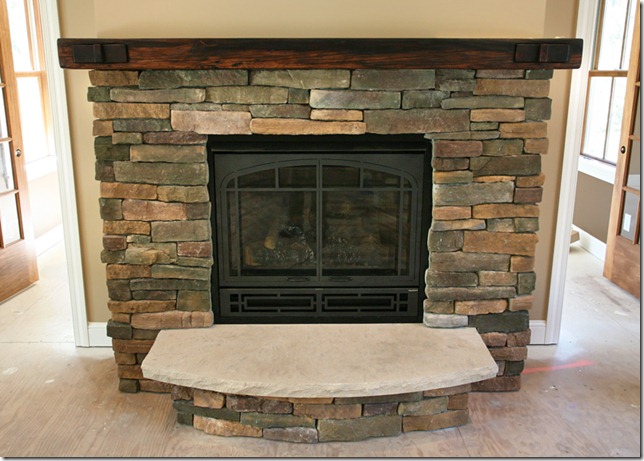
The two photos below show the living room fireplace after Mark and his crew from American Air Supply finished installing the Arts and Crafts decorative front. In the first close-up shot of the fireplace we can see the faux doors and just barely make out the screen in front of the glass.

Fireplace 68

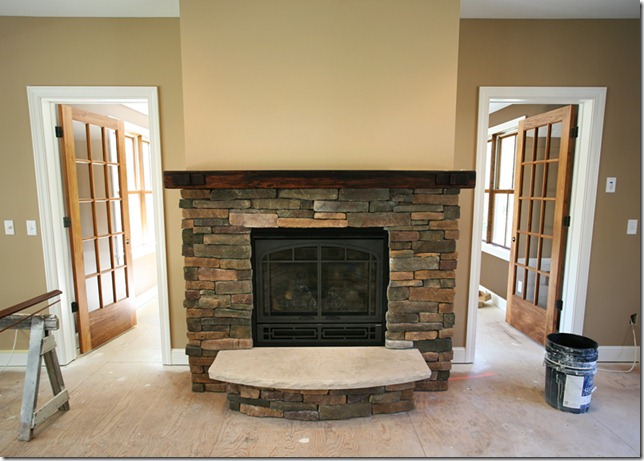
The second shot shows a wide angle view that includes the back wall and the doors to the music room.

Fireplace 67

Sunday, August 29, 2010

Last weekend in August…part 2

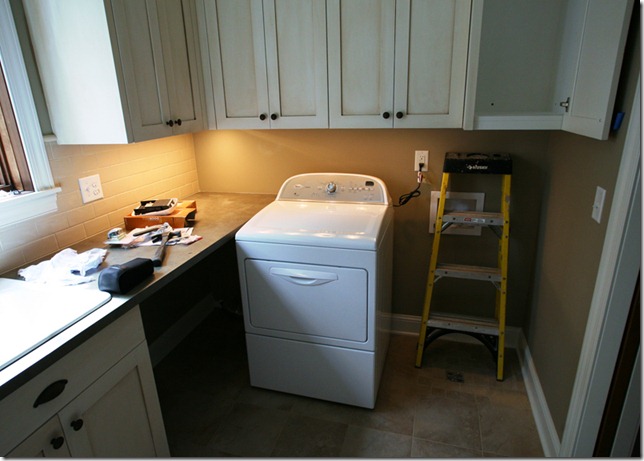
Continuing the theme from last night’s posting…the photos here show more of the results of last week’s flurry of activity at the “L” Shaped House. The first photo shows the dryer in the first floor laundry room after Paul finished hooking up the newly routed venting that allows a closer fit to the back wall.
Appliances 38

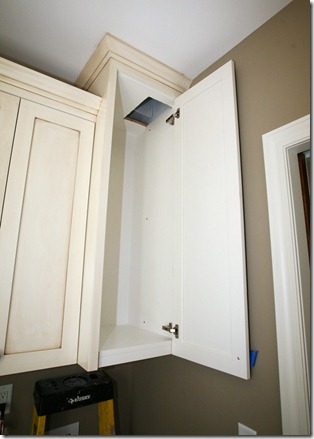
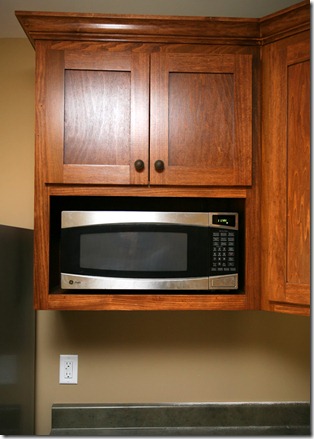
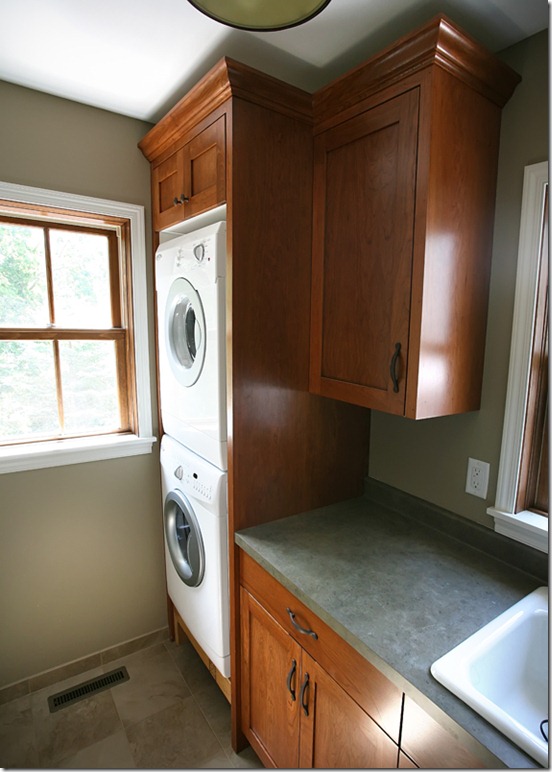
The next photo shows the tall upper cabinet above the washing machine in the first floor laundry room after Paul cut a hole through the ceiling to connect to the laundry chute above. The third photo shows the basement microwave cabinet after Luke (Wire-Rite) finished installing the electrical outlet in the cabinet above and routing the power cord to the microwave.
Cabinets 84 Appliances 37

the fourth photo shows the stacked washer and dryer in the second floor laundry room with nearly every detail completed including paint touch-ups, window hardware, and plumbing hook-ups.
Appliances 39

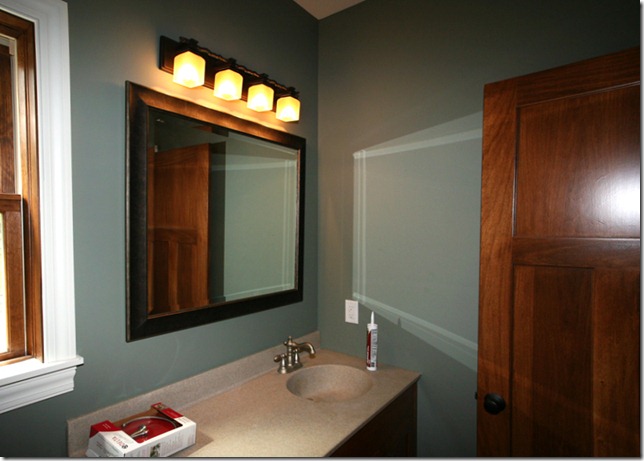
The fifth photo shows the first floor bathroom after Luke (Wire-Rite) finished wiring the light fixture…Pete (Carmichael Decorating) repainted the wall…and Paul mounted the mirror Deb selected. Paul and Nate also removed, re-scribed, and re-mounted the cultured marble vanity top to get a better fit along the back wall.
Electrical 104(2)

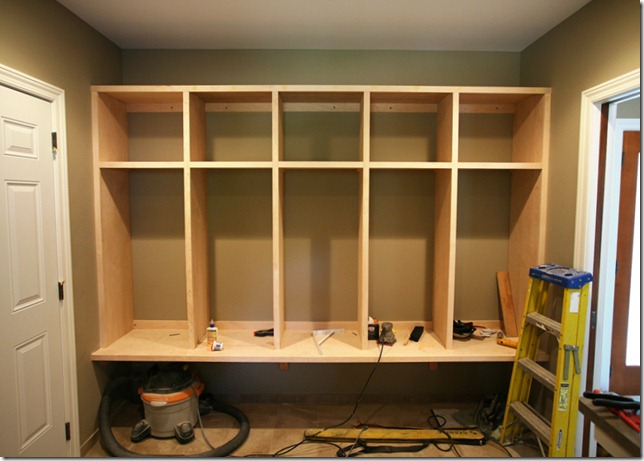
The sixth photo shows the lockers Paul is building in the mudroom. He has all of the maple trim attached and is just about ready to start sanding and filling. The 18” high upper cubbies and 8” deep hanging wire baskets underneath the lockers should give us plenty of storage for our day-to-day clothing accessories.
Cabinets 83

The seventh photo shows the French doors and side lights leading to the screen porch from the living room after Paul removed the plastic film protecting the glass. The view through this “wall of glass” at the front of the living room is fantastic and it feels like the amount of light streaming in has increased ten times.
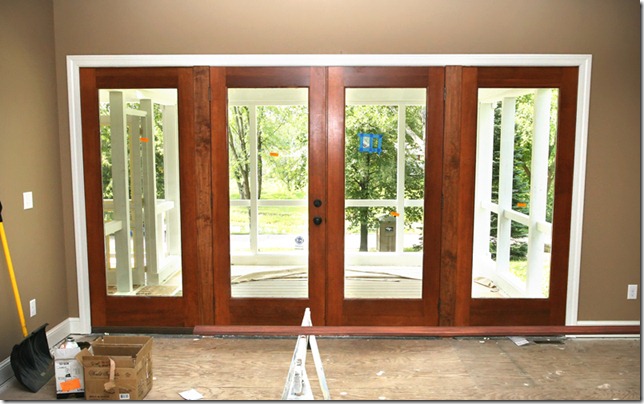
Doors 30

The eighth photo shows the master bathroom after Pete (Carmichael Decorating) finished touching up all of the little “imperfections” he could find (there are still a couple pieces of masking tape on the wall). He has worked the last few days touching up “here and there” throughout the “L” Shaped House.
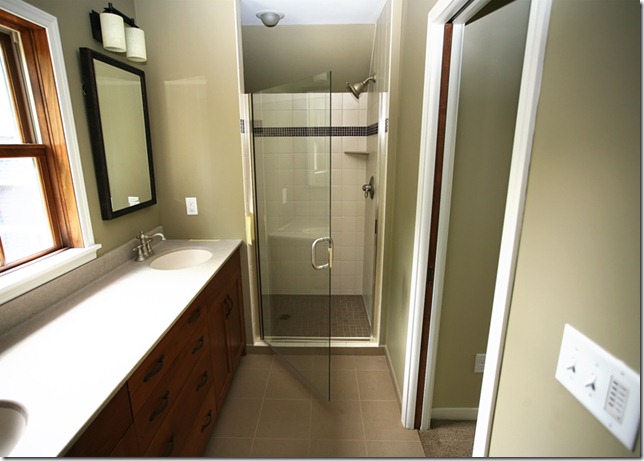
Painting 285

The ninth photo shows the collection of paint in the basement storage room Pete has to sort through as he works his way around the house touching up walls, trim, and ceilings. It kind of makes you wonder what we are going to do with all these cans of paint after they leave…
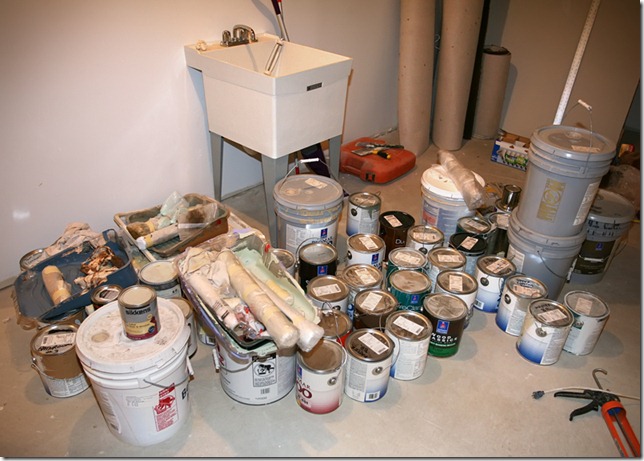
Painting 286

The last photo shows the mechanical room in the basement with…I’m pretty sure…all of of our plumbing and mechanical systems in place. Jeremy (Steinkraus Plumbing) finished up all of the “loose ends” on the plumbing system including the drain for the water softener early in the week and Gordie Buhrer showed up Friday to plug it in and set up a program for softening.
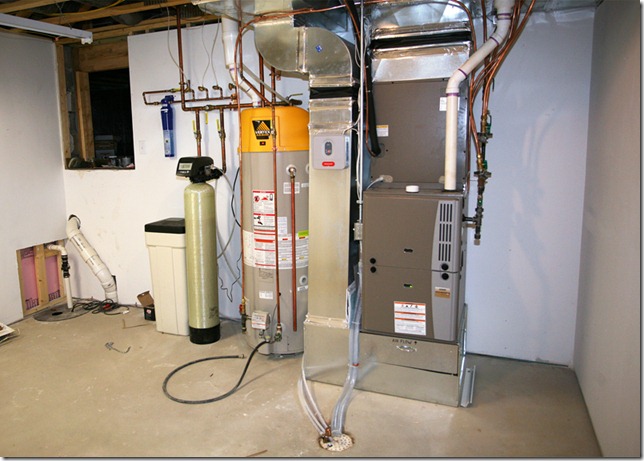
basement 9

Saturday, August 28, 2010

The “L” Shaped House…Last weekend in August

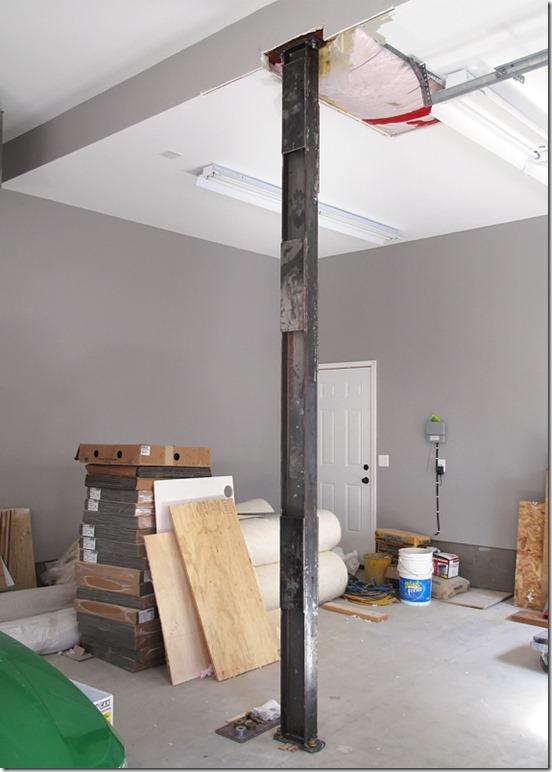
The last few days have brought a flurry of activity in and around the “L” Shaped House. Most of the sub-contractors have been in and out as they finish up items on Nate and Paul’s list. I took these photos as I wandered around this morning catching up on the progress and decided to put them all in one blog posting. The first photo shows the steel I-beam post in-between the third and fourth stalls in the garage after Paul got it partially installed. The post attaches to the 8” I-beam in the ceiling and is designed to carry 25% of the weight of the back wall of the bonus room above.
Garage 26

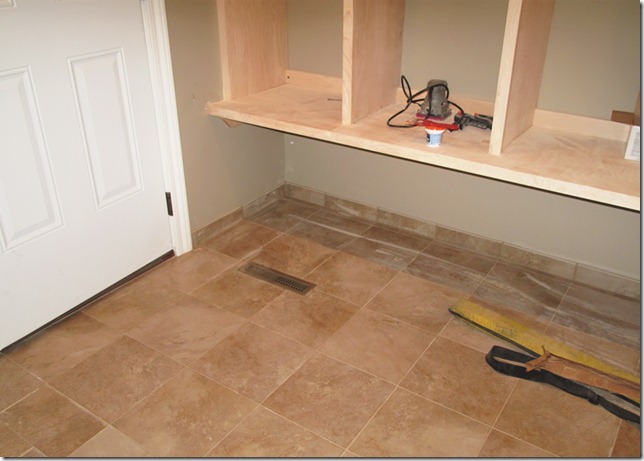
The next photo shows the back corner of the mudroom under the new lockers after Matt Sletten finished installing and grouting the ceramic tile sanitary base. With this last bit of tile in place Matt is just about finished working at the “L” Shaped House!

Ceramic Tile 191

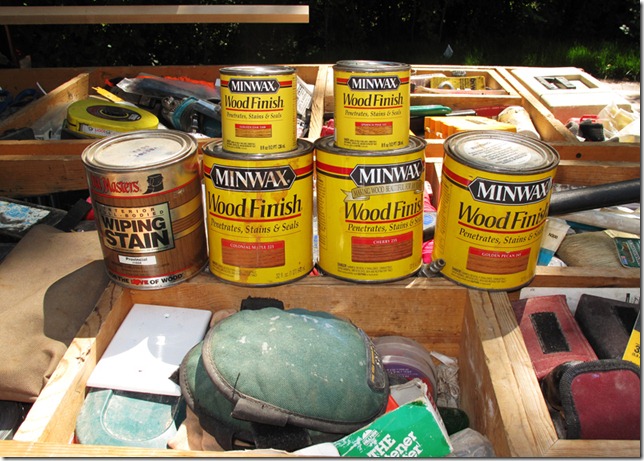
Speaking of Paul’s nice mudroom lockers…The third photo shows the collection Minwax stain Paul was able to produce after a couple of minutes of digging in the back end of his pickup truck. He wiped some stain on a few samples and Deb picked Golden Pecan 245 for the lockers.

The whole process seemed a little like a magic trick ;-)

 Cabinets 82

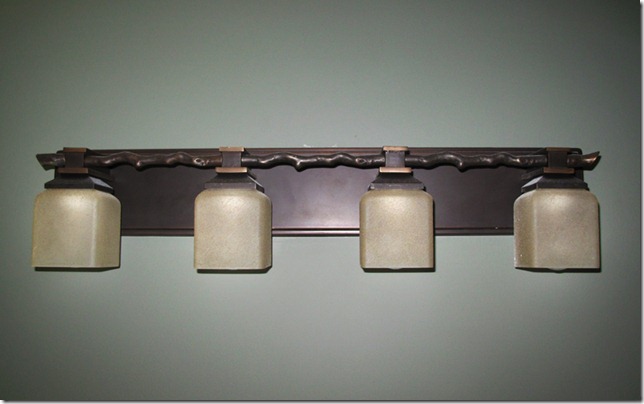
Luke (Wire-Rite) has been in and out all week working on various projects. The light fixture above the sink in the first floor bath has been uncooperative all along. The fourth photo here shows the fixture installed on the wall all ready for action.
Electrical 103

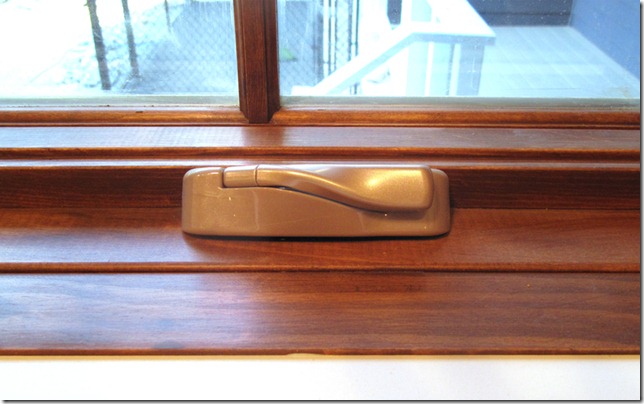
The fifth photo shows one of the cranks on the casement window above the kitchen sink. Steve Carmichael’s guys have been re-installing all of the window hardware as they finish up their work at the “L” Shaped House.

Windows 21

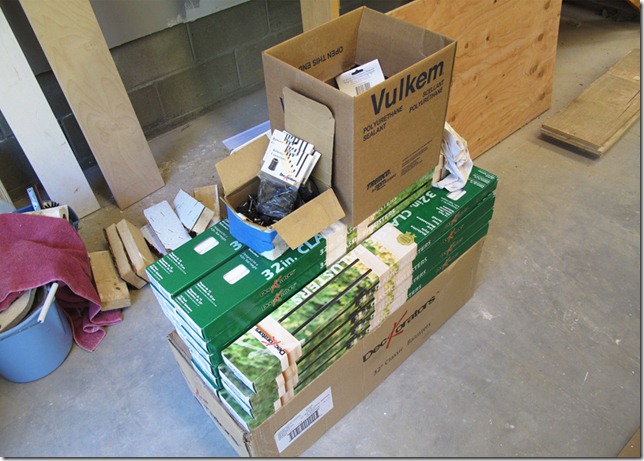
The sixth photo shows the pile of Deckorators aluminum balusters (spindles) and connectors for the railings on all three porches at the “L” Shaped House. Paul estimates that the Solid Construction guys will need 336 spindles to complete all three railings.

deck 75

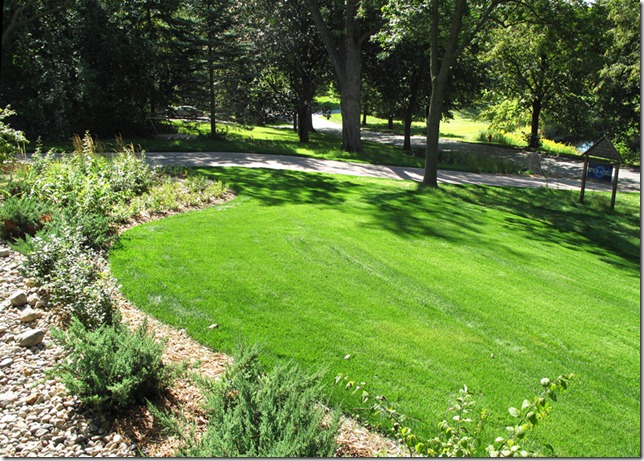
The last photo shows the view off the front porch after I finished up mowing the front yard for the first time using our new John Deere lawn tractor. I had the sprinkler system turned off for four days before attempting to mow and it was still a little softer than I wanted but it had to be done. I dumped the clippings bag 10 times as I worked my way SLOWLY across the thick jungle of grass!

Landscaping 266